Set up Gatavo in 15 minutes
Updated 8 Sep 2026
Use the green Get set up box on the left. Then add your logo, bank details, and a few services.
On the left, under Jobs, you should see Get set up while you are on a trial.
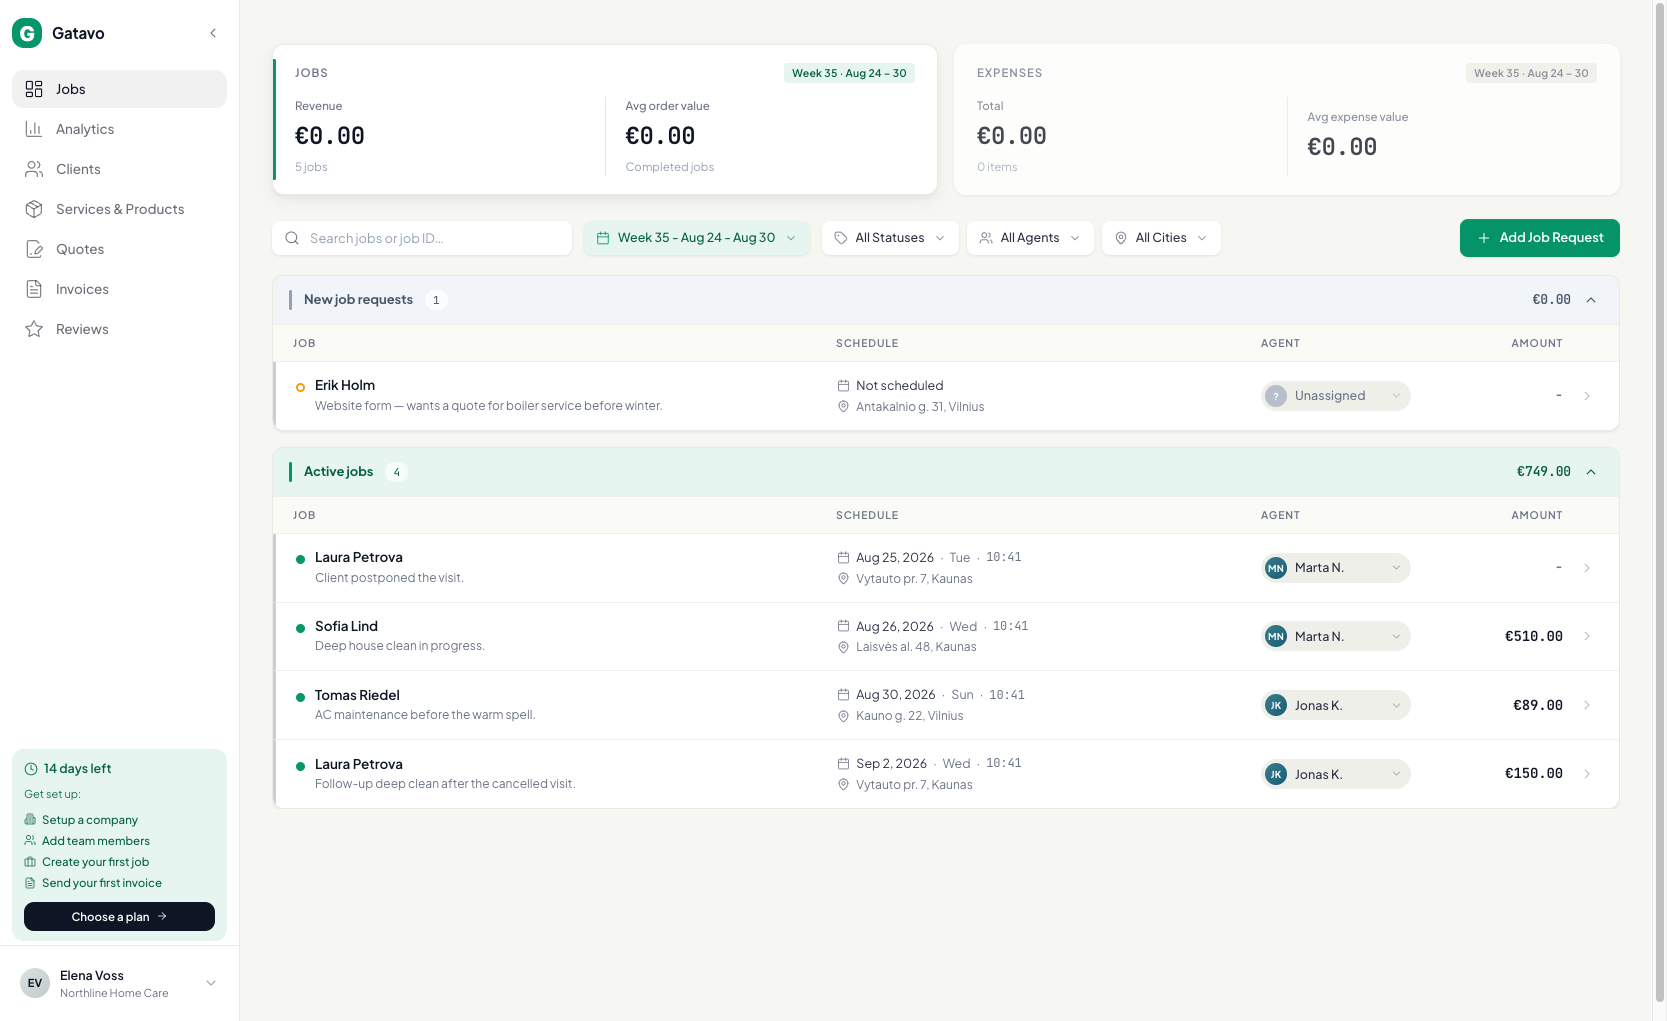
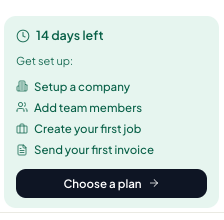
Follow the green Get set up list
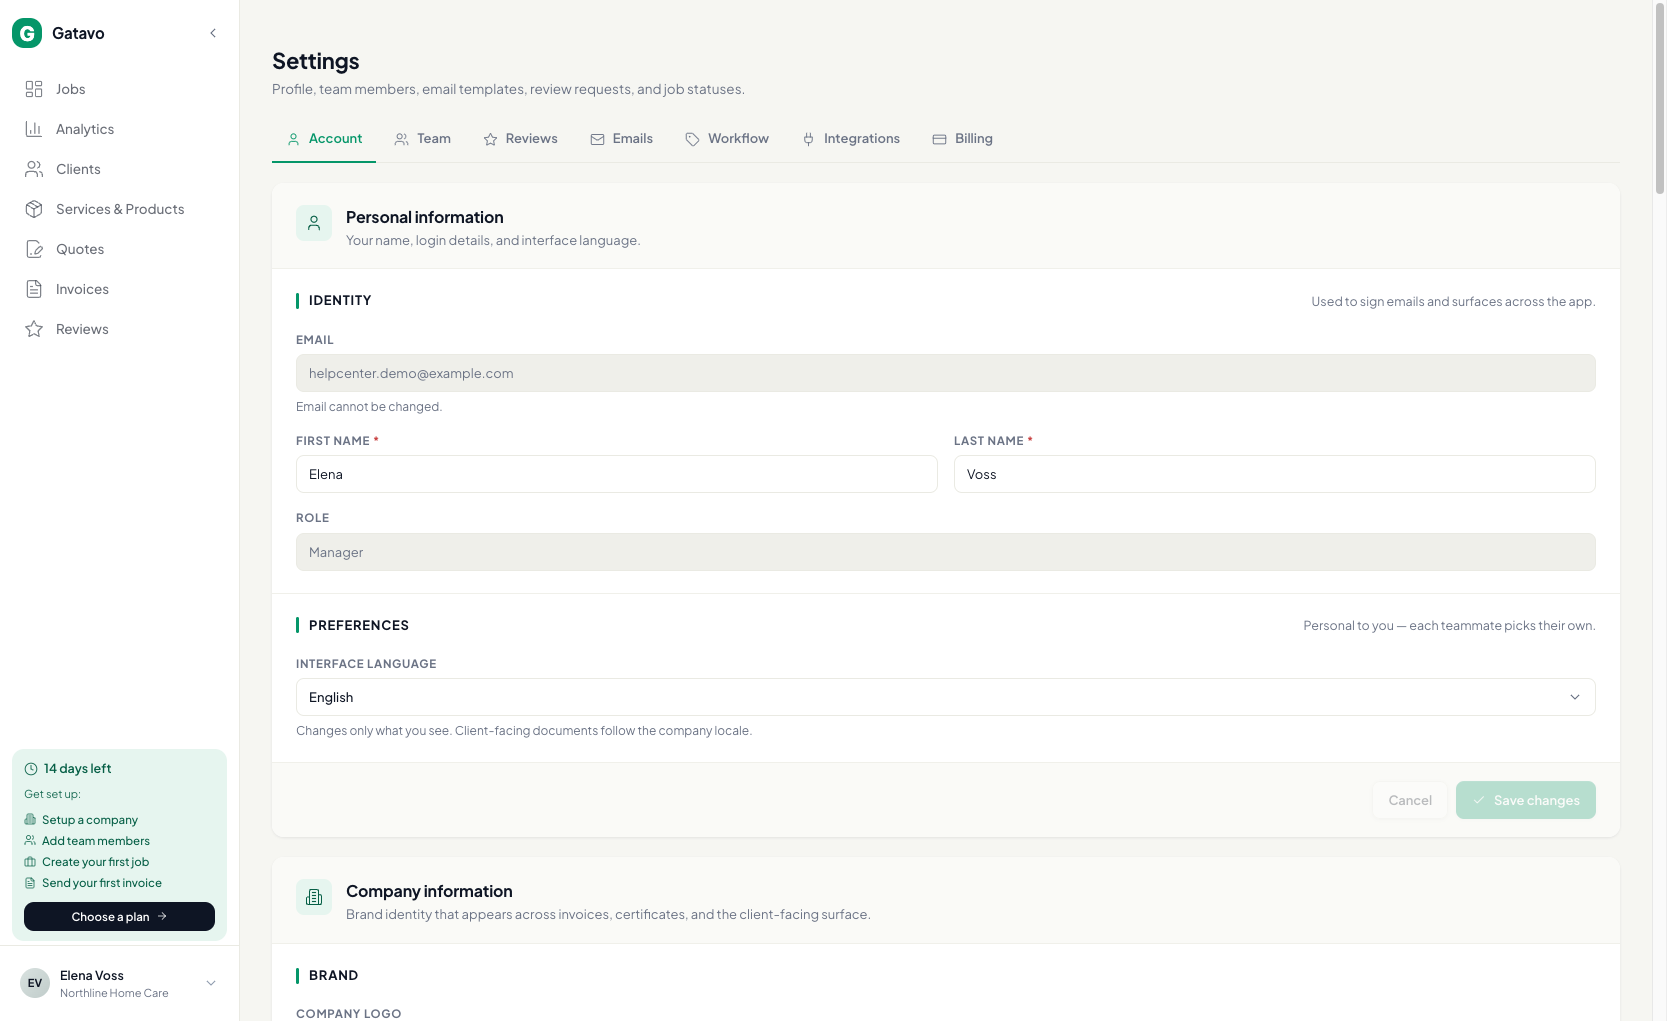
- Click Setup a company. You land on Settings → Account. Fill company name, email, phone, and address. Click Save changes.
- Click Add team members in the box (or skip if you work alone). See How do I invite a manager or an agent?.
- Click Create your first job. You land on Jobs. Click Add Job Request. See How do I create a job?.
- When that job is done, complete it (see How do I start, finish, or cancel a job?). Click Send your first invoice in the box. Open the invoice. Click Send via Email. See How do I send an invoice or download the PDF?.
- Click Choose a plan when you are ready to pay. See How do I change plan or open billing?.
Then finish your company setup
These steps are not in the green Get set up list. Do them so invoices show your logo, a pay code, and the work you sell.
- Still on Settings → Account, upload a logo. Set Currency, Business timezone, and Document language.
- Fill Banking details so invoices show a pay code. See How do I add bank details so people can pay?.
- Open Services & Products. Add 3–5 items you sell. See How do I add services I sell?.
Two different languages
Interface language is what you see in the app. Document language is what clients see on invoices, quotes, certificates, and emails.
For agents
If you were invited, you do not need this path. Open I got an invite. How do I join? instead.
Related articles
Getting startedWhat is the Get set up box?Getting startedHow do I set my company name, logo, language, and money?Getting startedHow do I add bank details so people can pay?Winning workHow do I add services I sell?Doing the jobHow do I create a job?Getting paidHow do I send an invoice or download the PDF?